When it comes to iconic swimming techniques, the back float is among the most prominent.
At Safe Aquatics, the back float is one of the first positions we teach beginners. As a student advances we continue build more skills using the back float as a foundation.
In fact, back float is so important that we consider it absolutely essential and at the core of our entire method.
But it isn’t always obvious WHY it’s so important. In this article, we will discuss the ins and outs of back float and the reasons why it’s so important!
First Things First
At the most basic level, back float is a safety position. Whether we are teaching an 8 month old baby or an adult learning to swim for the first time, one of the immediate goals is to teach the student to roll to his or her back to breathe.
Anyone who falls into the water accidentally can learn to roll to their back and call/cry for assistance until someone is able to help them out of the water. Incredible as it may seem, even babies who can’t stand up yet can learn to roll onto their backs and float!
It can even be a safety measure for a child who is able to swim independently. Often, kids who are newly independent in the water can have a sense of over-confidence, they might be exhausted from swimming all day, or they may fall into very cold water which gives them a physical shock! In these scenarios, having the instinct to roll to back float can be life-saving!
Back float is also a way for beginners to gain comfort in the water. For many new swimmers, the brand new sensations can be a little bit scary. Weightlessness, buoyancy, the feeling of water in one’s ears, and the gentle motion of the pool can all take some getting used to at first.
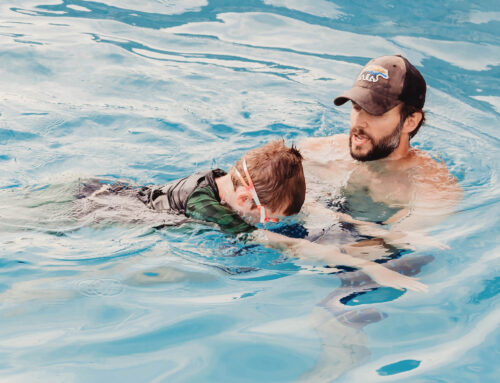
An assisted back float with the teacher supporting the swimmer’s head and back can be a comfortable way to relax the body, while getting acclimated to the sensations of floating in the water.
Children will be able to see their teacher’s face, hear their voice and feel their support while counting to ten or singing songs. The child can be encouraged to gradually move into a better back float position that will require less and less assistance from the teacher. It’s a great way to build confidence, build the trust between student and teacher, and become acquainted with the different sensations of being in the water. When the child is able to back float without assistance, it will be a huge step towards fully swimming independently!
How to do it
So what does an unassisted back float look like?
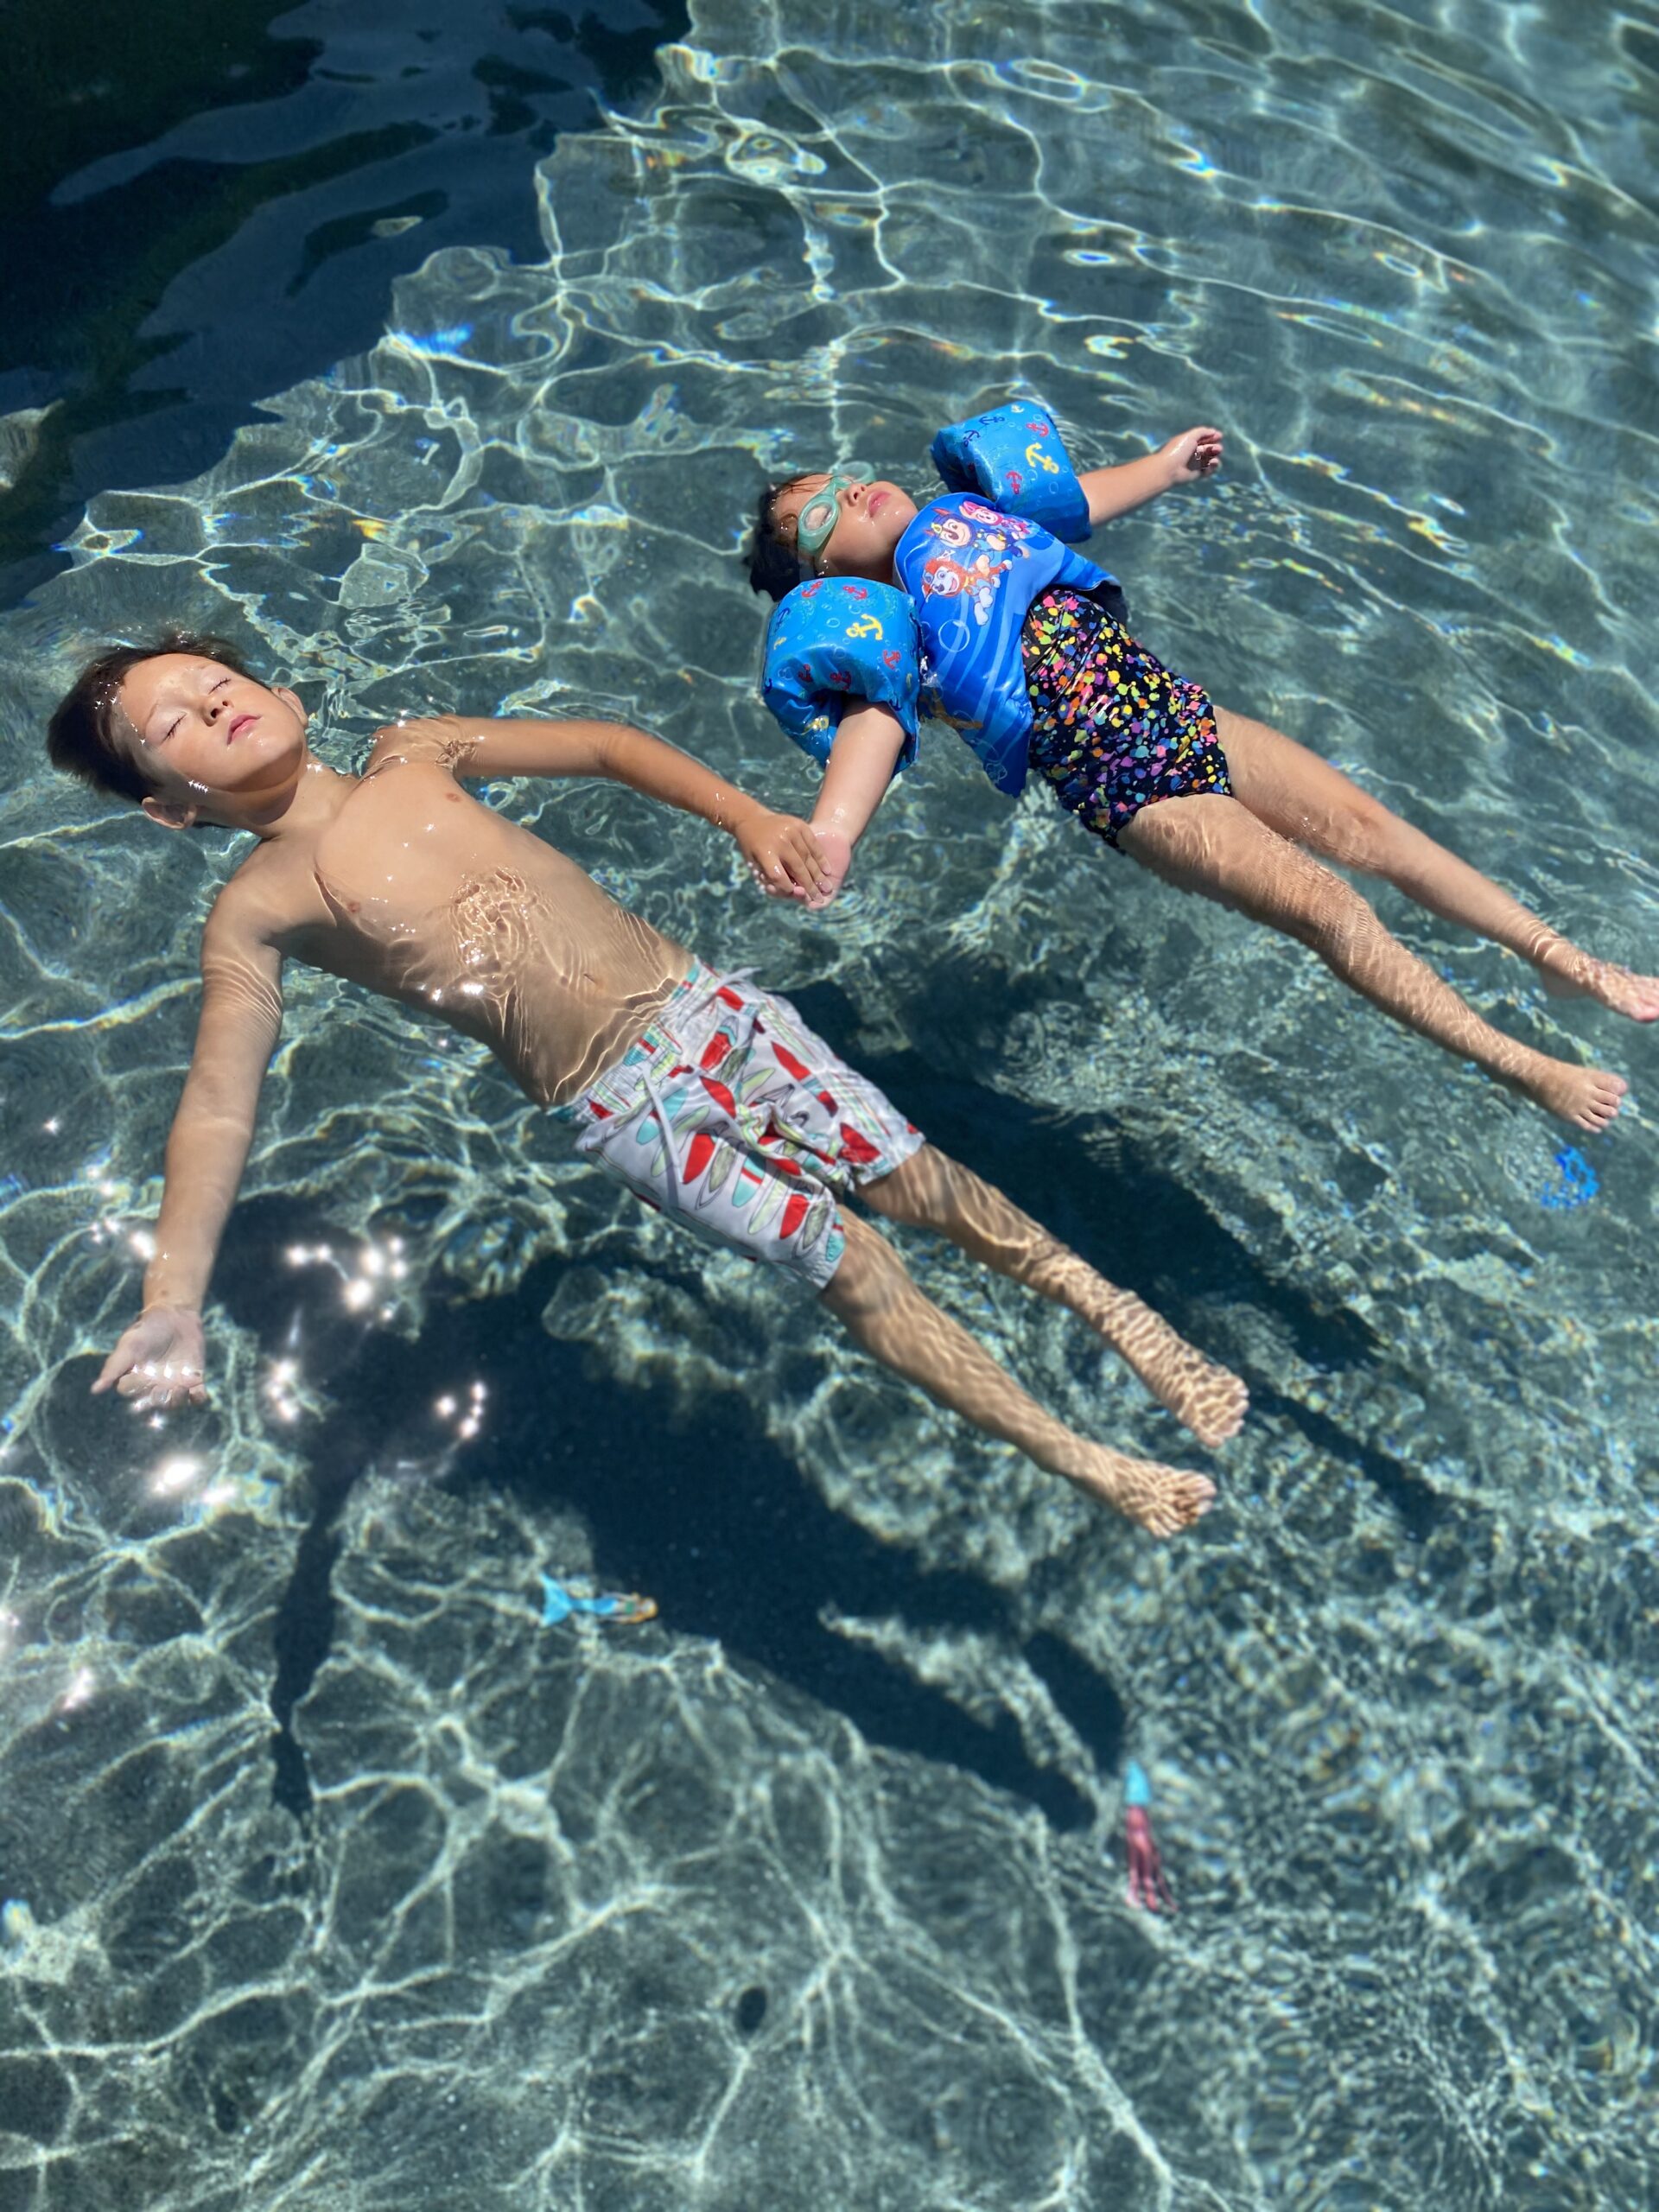
The swimmer should be lying flat with their head back. Their forehead should be touching the water or submerged, and the top of their chest should be touching the top of the water or poking out.
Their legs about shoulder width apart, and motionless. It is normal for a new swimmer to feel nervous or afraid when they start learning back float, and their instinct will be to kick and move their legs. If they’re able to stop kicking, they may bend their knees, bend at the hips/waist or be totally rigid. The goal with the legs is for them to be totally still, relaxed and not kicking. The legs should be straight and not bent at the waist.
Arms should be spread out to the sides, but still in a comfortable position. This can be anywhere from 30 to 90 degrees. Nervous beginners will often try reaching for the teacher by lifting their arms above their head, or holding on to the teacher’s hands or arms. This can be okay at first, but the goal is to gradually and gently encourage the swimmer to relax their arms and put them out to their sides.
Like the legs, their arms should be loose and not rigid.
The swimmer’s abdomen should be straight, with their chest slightly pushed forward. This might cause the legs to drop down a bit, but will be the center point of their float. Swimmers are encouraged to take long, deep, controlled breaths, holding their breaths in for a few seconds if they’re able. This helps them stay calm and increases buoyancy.
Finally, and often the trickiest part, is head position. Their shoulders should be relaxed, and not shrugging. The head should be tipped back, with their ears submerged and their forehead touching the water. The swimmer’s chin should be pointed straight up in the air.
This can be difficult for new swimmers as it can sometimes make them feel like they are going to fall or put their whole face into the water upside down. It is often the last step in teaching this position, with the instructor holding just the head while the swimmer maintains proper positioning with their body from the neck down. The swimmer is encouraged to gradually put their head into this tipped back position and hold it there for as long as they can. Practice is very important for this positioning!
Head position is also perhaps the most important part of the float as the swimmer’s instinct will likely be to tuck the chin into the chest, lifting the ears and back of the head out of the water as they look towards their feet. This will cause their legs to sink and their body to drop, and they will be unable to maintain the float.
It’s important to bear in mind that everyone’s body is different, and everyone will have a different experience with their float. Some people float very easily, and don’t need to tip their heads back very much. Others will need to put their heads very far back into the water. Some people’s legs will ride on top of the water effortlessly, while others may find that their legs sink down quite low. Some may feel more comfortable with their arms closer to their waist, and others may feel better having them slightly above the shoulder line. There are many factors that can vary from swimmer to swimmer. It’s important to have an experienced teacher who has worked with many different students and can identify the areas the swimmer needs to work on to float independently.
At Safe Aquatics, we like to build the safety and stability of a child’s back float by challenging them with tests such as dripping water on them and splashing them while they maintain their float.
Beyond back float
Once the swimmer is able to confidently and comfortably float by themselves, this position can be used to teach many more skills.
For beginners, the main skill is rolling from a face-in position to their back float, and vice versa. This rotating motion is fundamental in building proper technique for more advanced strokes like freestyle and backstroke (front crawl and back crawl).
Beginners will also use the back float position to begin using their arms to pull in the water. The swimmer will reach out to the sides and push the water down to their hips while maintaining proper back float position and keeping their face above the water. This is our variation on a technique sometimes called elementary backstroke. It will enhance the water safety of back float by providing the swimmer with some mobility and allowing them to self-rescue by swimming towards a wall, ladder or steps while keeping their face out of the water.
As previously mentioned, the ability to rotate from front to back is incredibly important to building proper technique. More advanced swimmers will learn to kick on their front and back, and then eventually rotate to their sides while maintaining kick. This position is similar to back float but the body is rotated so that one shoulder is out of the water, pointing up, and the other should is submerged and pointing down. Then, the bottom arm is extended above the head while the other arm is held down at the hip, a position known as sidekick. Rotating between both sides in a controlled sidekick is the basis of good freestyle and backstroke, and it all starts with back float!
If you’re an adult who’s already learned to swim freestyle without rotating your body and shoulders, don’t worry! You can still practice the advanced rotation drills and learn the fundamental steps to improve your stroke. We have worked with many adults from those seeking to better utilize swimming as a low-impact exercise all the way to serious triathletes looking to get a competitive edge by improving their stroke. The rotation drills will benefit anyone looking to learn!

Home improvement
One of the best things about back float is that it can be practiced at home! This is a wonderful way to start getting your child or even your baby used to being in the water. While in the tub, parents can help the child lie back while counting to ten or singing a short song. They don’t need to actually float, they just need to get acquainted with the feeling of lying on their back in the water. They can rest their bottoms on the tub, or the parent can hold them up. For babies, parents can get in the tub and hold the baby on their lap.
In the warm water and with the comfort of a parent being with them, practicing like this is easy for kids and will take most of the fear and uncertainty out of the equation. After they get comfortable to the routine, parents can use their hands and verbally encourage them to tilt their heads back into the water. Most kids will feel much more secure putting their heads back when they can look up and see your smiling face! This method is fantastic for helping children who are sensitive to submerging their ears. It can be overwhelming to deal with this unfamiliar sensation in a pool with a new teacher, but this barrier can be worked on significantly at home in the tub where comfort levels are much higher!
We hope this article has answered the questions you may have about back float, and give you a some insight into why we consider it such an important part of the learning process. We hope you are encouraged to try this technique at home to help your swimmers begin their journey!


